
Have you ever found yourself standing in a shower with lukewarm water, questioning your life choices? If you’re tired of unreliable hot water and are considering a more efficient solution, a heat pump water heater might just be what you need. This guide will walk you through the steps of setting one up, ensuring you’ll soon be basking under soothing hot water without a care in the world.

Understanding the Heat Pump Water Heater
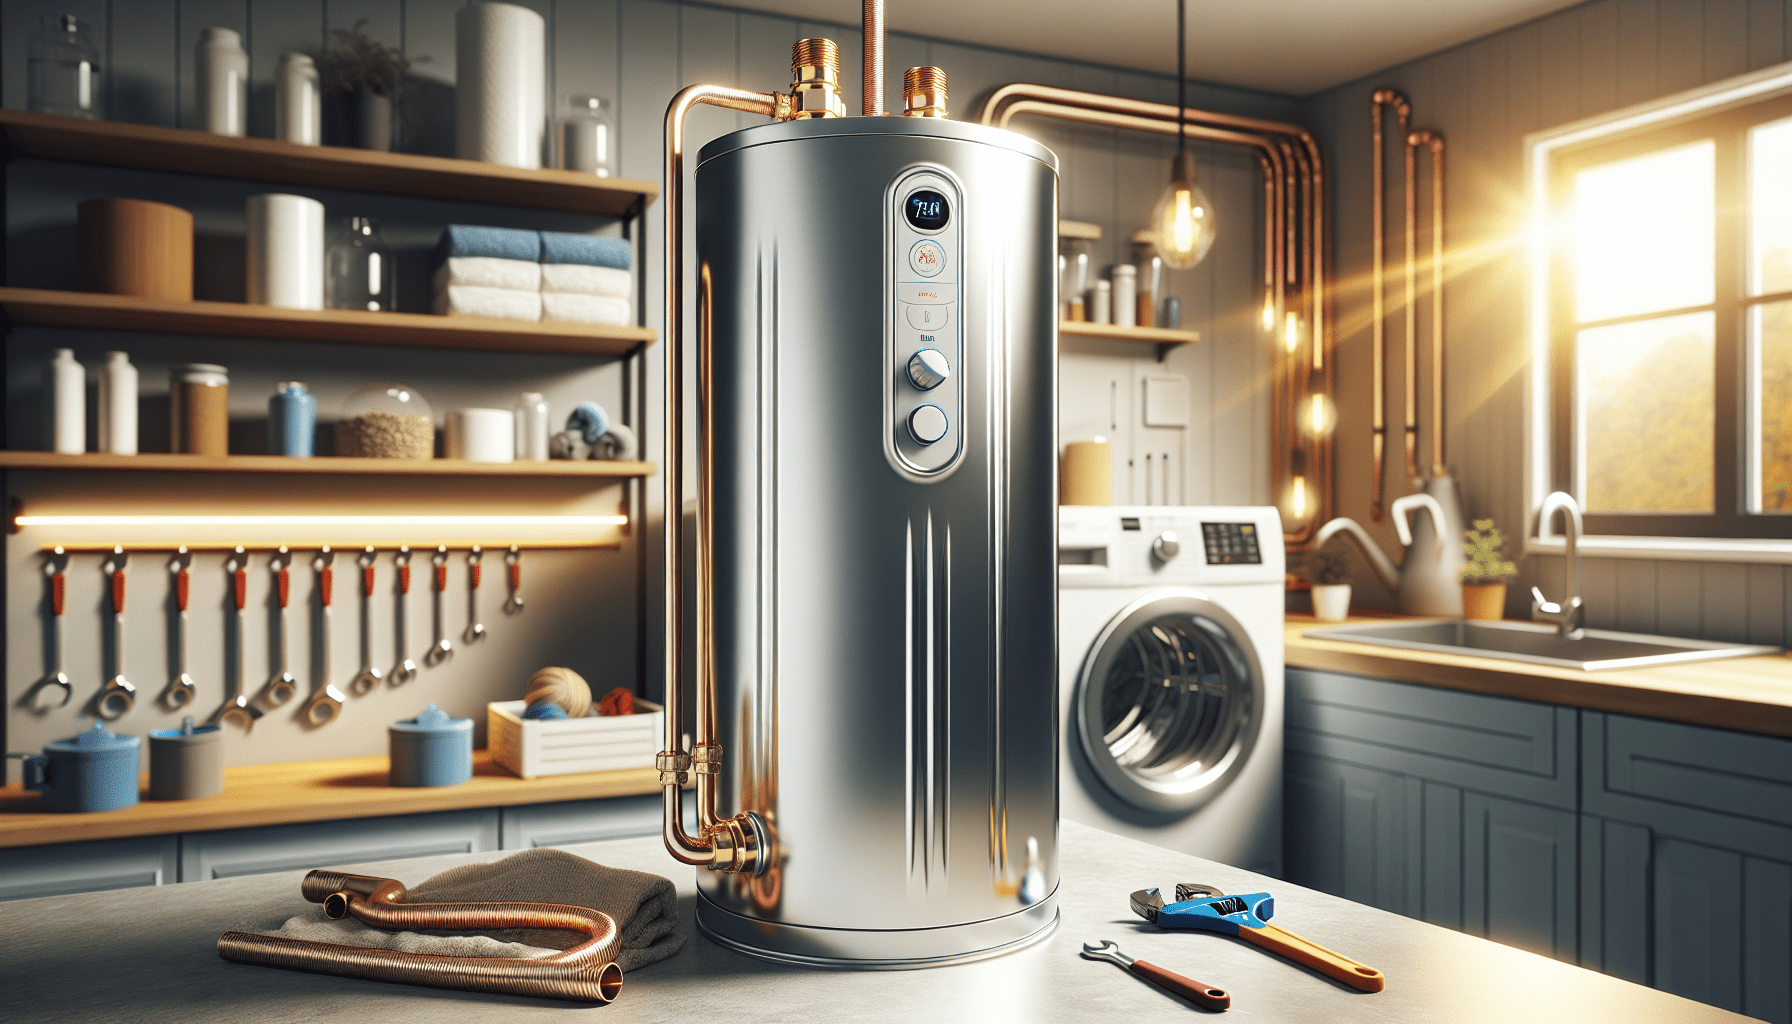
Before jumping into the installation, it’s important to understand what a heat pump water heater (HPWH) actually is. Unlike traditional water heaters that generate heat directly, HPWHs work by transferring heat from the air or ground to heat the water. This means they use electricity to move heat rather than generate it, making them significantly more energy-efficient.
Benefits of Heat Pump Water Heaters
You might be wondering why you should even consider switching to a heat pump water heater. Here are some compelling reasons:
- Energy Savings: HPWHs can be two to three times more efficient than conventional electric water heaters. This means lower energy bills for you.
- Eco-Friendly: If you’re aiming to reduce your carbon footprint, HPWHs often use renewable energy sources, helping you tread lightly on the planet.
- Longer Lifespan: Typically, these units have a longer lifespan compared to conventional heaters, providing savings on replacement costs down the line.
- Versatile Use: Many units can also dehumidify your home, serving a double function!
When you’re investing your time and money, it’s good to know you’re choosing something that gives back.
Preparing for Installation
Before you put any tools to work, some preparation will go a long way in ensuring a smooth installation process.
Gather Your Tools
You’ll need some basic tools to get started. Make sure you have:
- Screwdrivers (flathead and Phillips)
- Adjustable wrench
- Pipe wrenches
- Pliers
- Measuring tape
- A level
- Safety goggles and gloves for protection
With the right tools at your side, you’ll have everything needed to tackle this project confidently.
Choose the Right Location
Location, location, location! Choosing where to install your heat pump water heater is crucial. You want to find a place that meets these criteria:
- Caught in the Sun: Ideally, the unit should be located in a space that has ambient air temperatures between 40°F and 90°F (4°C – 32°C). A basement or garage often works well.
- Space Requirements: Ensure there’s enough clearance around the unit for air circulation. Generally, you need at least 15 inches of space around the air intake.
- Accessibility: Installing the unit in a place that’s convenient for maintenance will save you time and trouble in the future.
Assess Your Existing System
Before making any changes, take a good look at your existing water heating system. Disconnect power and ensure that any old water heater you are replacing is properly drained and removed. If you don’t feel comfortable doing this, it might be wise to consult a professional.

Installation Steps
Now that you’re prepared mentally and physically, let’s get into the nitty-gritty of installation.
Step 1: Shut Off Power and Water Supply
Safety first! Make sure to turn off the electricity to the old water heater and shut off the water supply before beginning the installation.
Step 2: Remove the Old Water Heater
Carefully disconnect the water lines and the power supply to remove your old heater. You might need a helper for this part, especially if it’s bulky. Dispose of your old unit properly; some areas have recycling programs for this purpose.
Step 3: Position the Heat Pump Water Heater
Place the new heat pump water heater in your pre-selected location. You may need to adjust leveling feet to ensure it’s upright and level. Use your level for accuracy, as an uneven unit can affect its performance.
Step 4: Connect the Water Lines
Attach the cold water supply line to the inlet side of the heater, making sure to use Teflon tape to prevent leaks. Then connect the hot water line to the outlet side. Remember—red typically means hot and blue means cold!
Here’s a quick reference table for your water line connections:
| Line Color | Connection |
|---|---|
| Blue | Cold Water Inlet |
| Red | Hot Water Outlet |
Step 5: Electrical Connections
This is where things can get a tad tricky. If you’re not comfortable with electrical work, now would be a good time to call in a professional electrician. However, if you’re feeling bold, follow these steps:
- Securely connect the electrical wires from the wall to the corresponding wires on the heater. Typically, you’ll see black (hot), white (neutral), and green (ground) wires.
- Ensure all connections are tight and secure to avoid any nasty surprises down the road.
Step 6: Install the Drain Pan and Ventilation
Install a drain pan beneath your heat pump water heater to catch any leaks. It’s a good idea to route the overflow from the pan to a floor drain if possible.
If your unit requires it, install ventilation according to the manufacturer’s instructions—some heat pumps need extra airflow to function properly, and this step is not to be overlooked!
Step 7: Fill the Tank
Turn on the cold water supply to fill the tank. Keep an eye out for any leaks during this process. Once the tank is full, open a hot water tap in your home to allow air to escape as it fills.
Step 8: Turn on Power
Once your tank is full of water and any air has been bled from the lines, you can turn on the power to your heat pump water heater. Check the settings and ensure that it’s set to your desired temperature.
Final Step: Test
After everything is connected and turned on, let the heater run for a bit. Check for leaks around the connections, and take note of how quickly it heats the water. If all is well, congratulations! You’ve successfully installed your heat pump water heater!
Maintenance Tips
Once your heat pump water heater is up and running, regular maintenance will help ensure its longevity and efficiency.
Regular Cleaning
Dust and debris can accumulate around the unit, impacting its efficiency. Clean the exterior and the air filter every few months to keep it running smoothly.
Inspect for Leaks
Make it a habit to check all connections regularly. A little drip can turn into a big problem if left unchecked!
Temperature Checks
Ensure that the thermostat is set correctly. A temperature of 120°F (49°C) is often recommended for hot water use.
Troubleshooting Common Issues
Even with the best care, you may run into some common glitches. Here are a few tips to help you troubleshoot:
No Hot Water
If you find yourself back in that lukewarm shower scenario, double-check that:
- The unit is powered on.
- The water supply is open.
- There are no error codes displayed on the control panel.
Water Leaks
If you notice water pooling around your heater, inspect all connections for leaks, paying special attention to the inlet and outlet pipes.
Inconsistent Temperature
If the water temperature fluctuates, it may be time to check the thermostat settings. It could also be a sign of a malfunctioning heating element or a need for servicing.
Conclusion
You’ve made it to the end of the installation guide, and now you’re ready to reap the benefits of your new heat pump water heater! Through a little DIY effort, you’ve not only improved your home’s efficiency but also set yourself up for countless comfortable showers and reliable hot water usage down the line.
Remember, like any home improvement project, staying informed and regularly maintaining your system are key to long-lasting success. Now, go ahead and enjoy that steamy comfort you’ve worked hard to install!